


If you are here, it means you probably already know about injection molding.
Still, we are gonna start with the very basics first to help those who don’t.
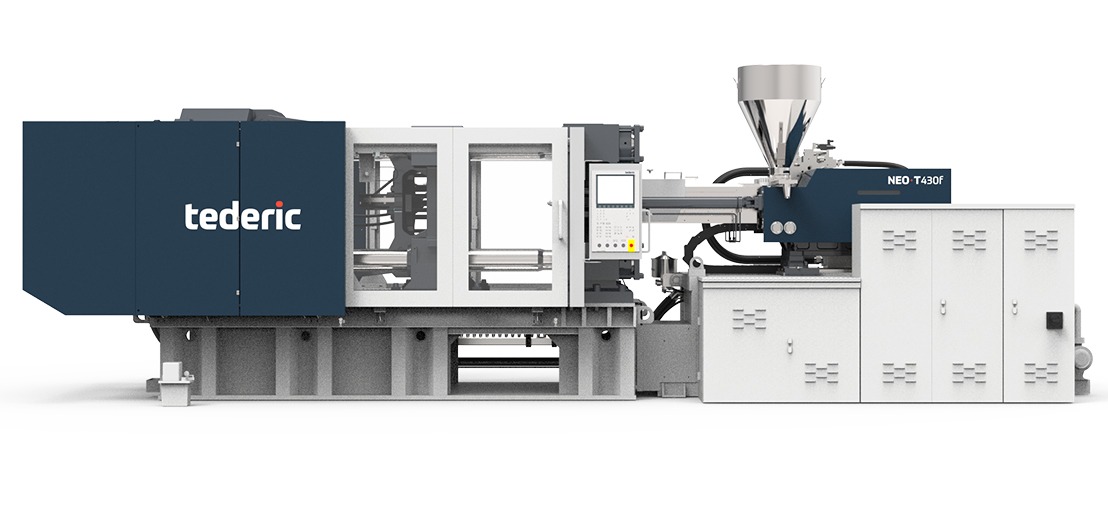
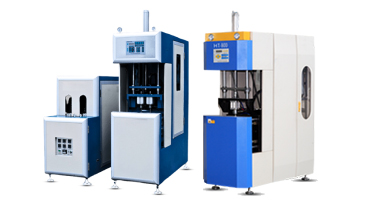
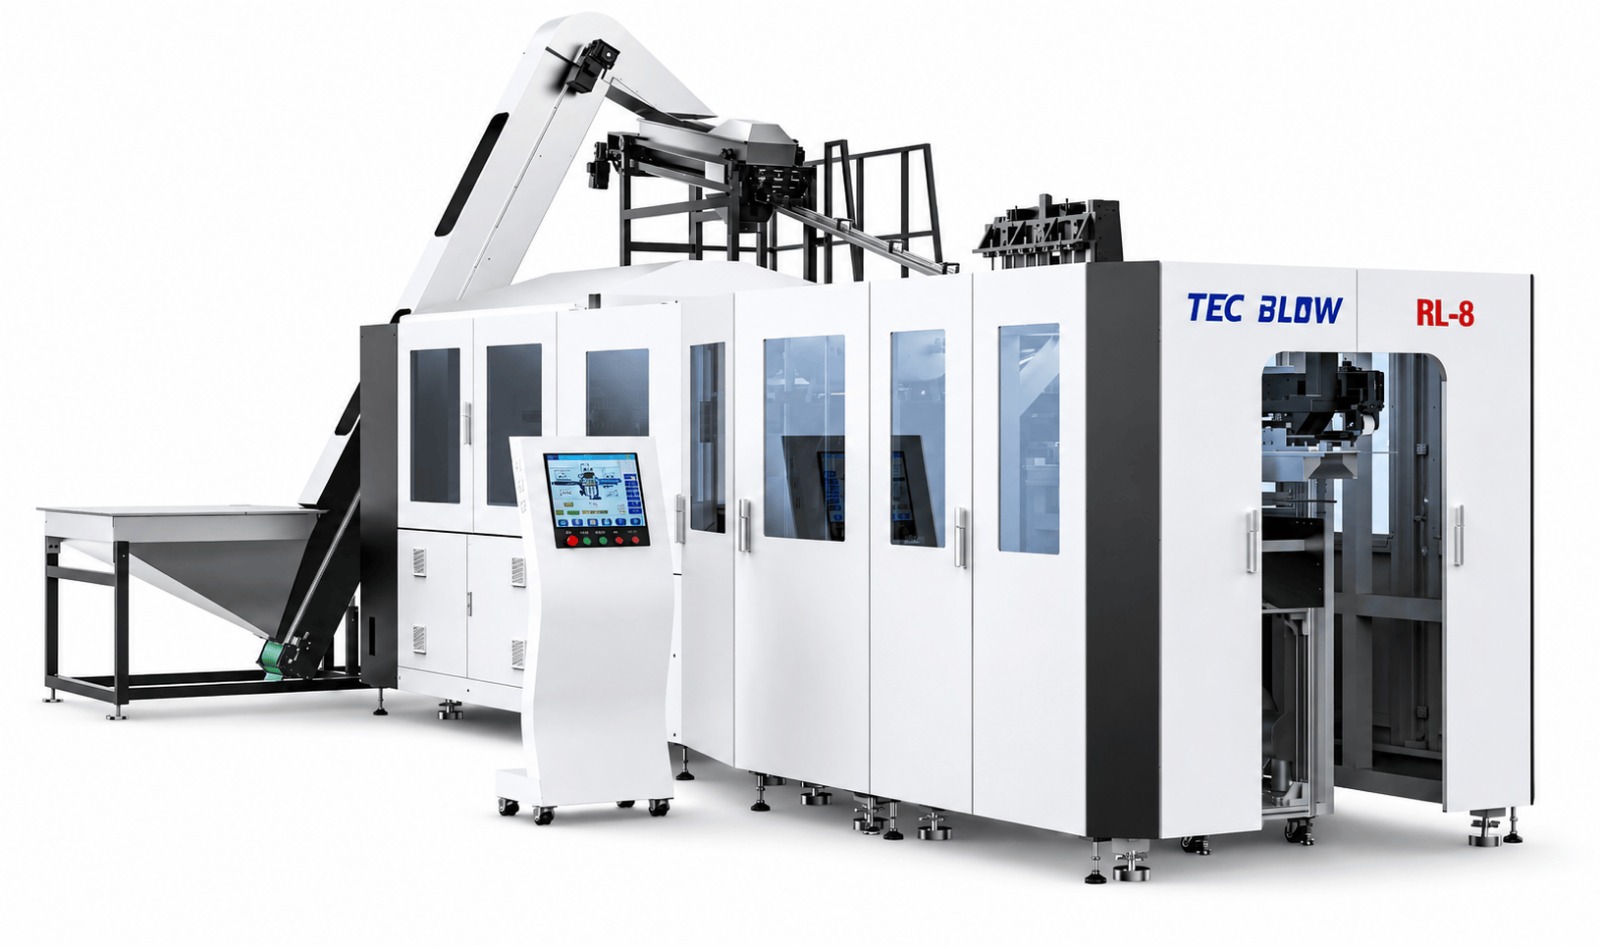
An injection molding machine is an industrial system/machine that manufactures plastic parts by injecting molten material into a mold under high pressure.
Inside the mold, the molten plastic cools down and takes the exact shape of the mold.
The same cycle repeats to produce identical plastic parts in bulk.
Doesn’t this process look simple?
From the outside, yes. But inside the machine, a lot happens. Multiple systems and parts work together alongside high pressure, heat, cooling, precision, and much more.
Keep reading this guide to have a clear overview of how each part works.
Key Takeaways
- An injection molding machine melts plastic pellets (coming from a hopper) using a heated barrel and a rotating screw.
- Screw pushed molten plastic into a tightly closed mold cavity to form the desired shape.
- Cooling channels cool down the mold and item inside.
- After cooling and solidifying, the mold opens, the product is ejected, and the cycle repeats automatically.
Main Parts of an Injection Molding Machine
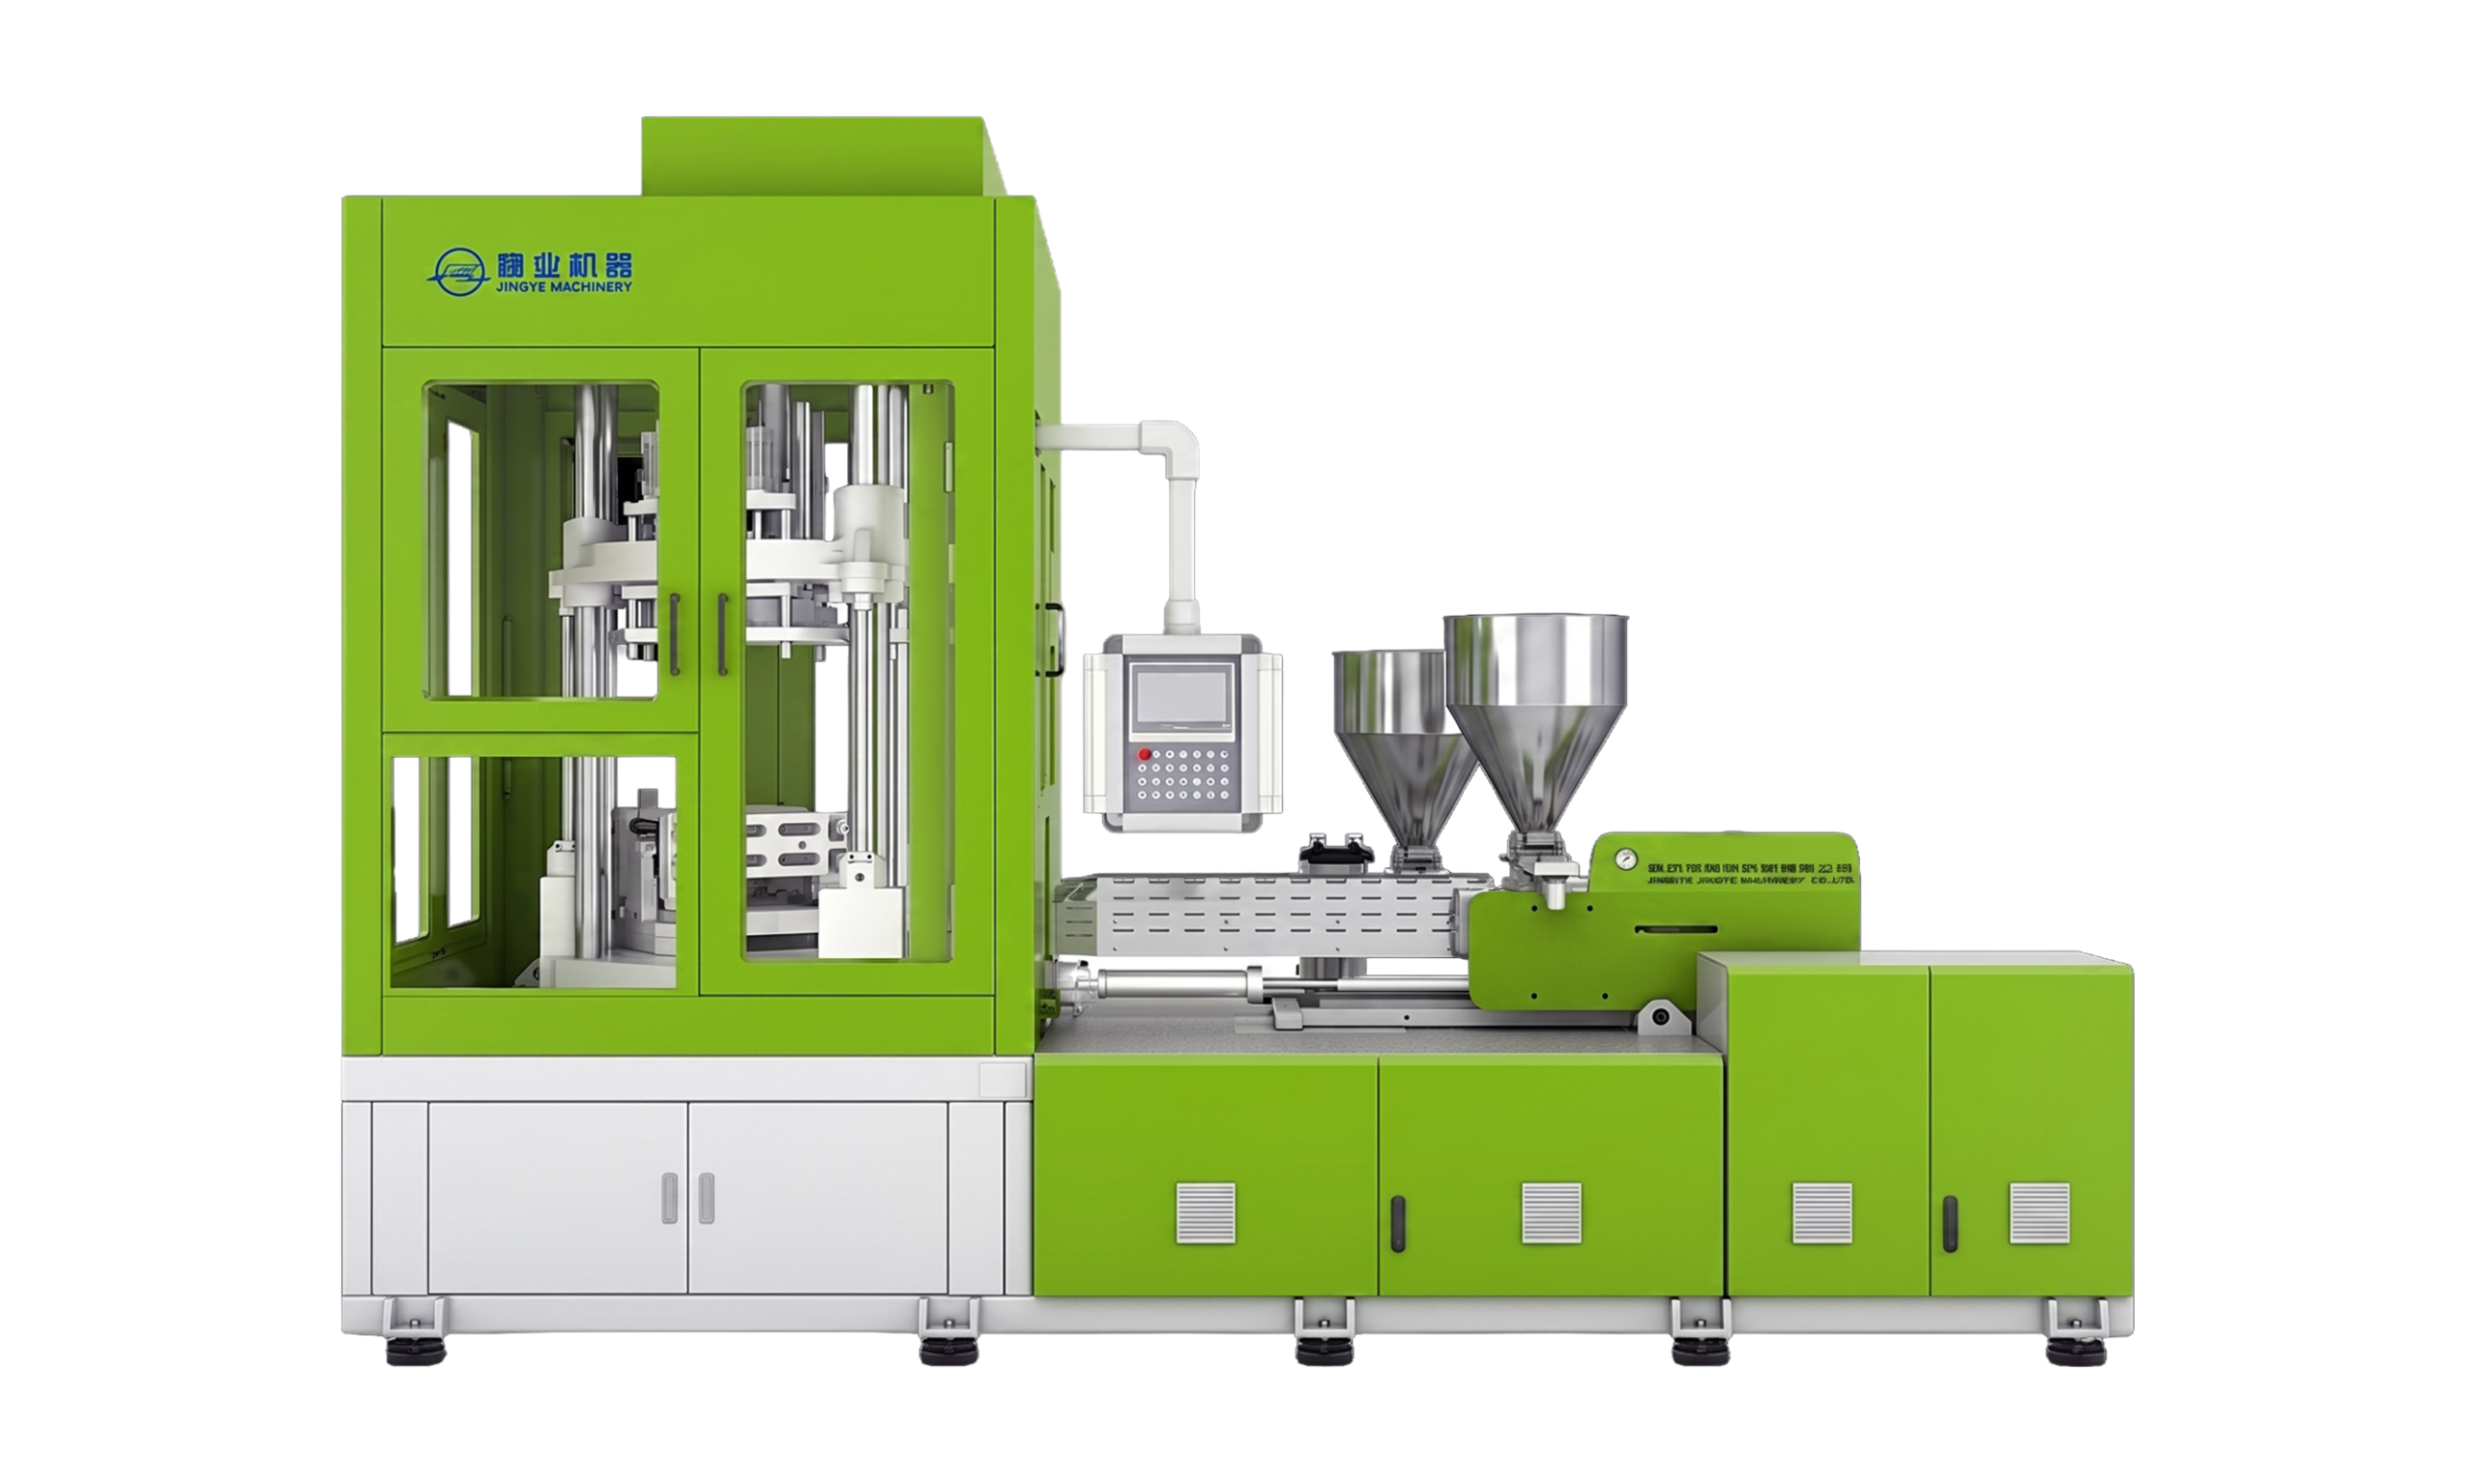
An injection molding machine has two main sections:
- Injection Unit
- Clamping Unit
The injection unit melts and injects the plastic into the mold cavity, while the clamping unit holds, cools, and shapes the molten plastic to form a part.
These sections have supporting systems/parts that do the injection molding thing, such as:
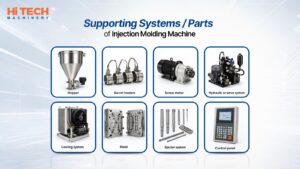
- Hopper
- Barrel heaters
- Screw motor
- Hydraulic or servo system
- Cooling system
- Mold
- Ejector system
- Control panel
Every section has its own role in making the final product.
Let us understand the process and how each part plays its role.
The Working of an Injection Molding Machine
This is how the whole injection molding process looks in detail:
1. Hopper Holds Plastic Resin
The hopper is a container placed at the top of the machine.
Plastic raw material, called plastic granules or resin pellets, is loaded into it. These pellets slowly move downward into the barrel due to the gravitational pull.
Additives can also be mixed here with the raw plastic.
The hopper may also include a dryer in some setups. This ensures all the moisture is removed from the resin to avoid any product defects.
2. Barrel Heats and Melts the Resin
Below the hopper is the barrel.
The barrel is a strong metal tube that contains the screw. It has multiple heating zones with different temperatures, controlled by electric heater bands.
The screw inside the barrel is one of the most important parts of the IMM. It rotates continuously during operation.
The screw performs three main jobs:
- Feeding
- Melting
- Injecting
As the screw rotates, plastic pellets move forward inside the barrel. The screw diameter increases gradually, which makes it tighter for the plastic to move inside the barrel.
Due to decreasing inside space and continuous movement:
- Pellets rub against the heated barrel
- Pellets rub against each other
- Pressure builds inside the barrel
This combination of heat and friction completely melts the plastic (which enters as granules) when it reaches the end of the barrel.
The molten plastic collects at the front of the screw, ready for injection.
3. Screw Injects the Plastic Into the Mold Through Nozzle
This is where the injection process starts.
Once enough molten plastic gathers at the front, the screw stops rotating, and the machine moves into the injection stage.
The screw moves forward like a plunger (think of this as a giant syringe). This forward motion pushes molten plastic through:
- Nozzle
- Sprue
- Runners
- Gates
- Mold cavity
An important player here is the non-return valve, sitting at the front of the screw.
When the screw injects molten plastic into the mold, the valve prevents material from flowing backward and maintains pressure.
The plastic enters the mold at very high pressure. This pressure is needed because molten plastic must fill every small corner of the mold before cooling begins.
The injection speed and pressure are controlled carefully.
4. The Mold Shapes the Molten Plastic
The mold holds the molten plastic and shapes it into the product.
It is either made from hardened steel or aluminum and has two halves:
- Fixed half
- Moving half
When the mold closes, both halves come together and form the cavity shape of the final product.
Inside the mold, there are many important sections:
- Cavity
- Core
- Runner system
- Gates
- Cooling channels
- Ejector pins
- Air vents
Each section affects the product quality.
5. Clamping Unit Holds the Mold Tightly Closed
When molten plastic is pushed into the mold, it applies a lot of pressure to the walls.
The clamping unit inserts the counter force to hold the mold tightly closed during injection, under high pressure. This way, there is no plastic leakage.
The clamping unit consists of:
- Fixed platen (connected to the fixed mold half)
- Moving platen (connects to the moving mold half)
- Tie bars
- Clamping mechanism
The modern injection molding machines can calculate the required clamping force based on product size and injection pressure.
6. Extra Molten Material Is Pushed Into Cavity (If Needed)
After the cavity fills, the machine does not stop immediately.
Extra pressure is applied for a short time. This stage is called packing and holding.
Plastic shrinks slightly as it cools. Holding pressure pushes extra material into the cavity to compensate for shrinkage, so a precise product is made.
7. Cooling Channels Cool Down the Plastic Part
Once the holding finishes, the plastic continues cooling inside the mold.
Cooling channels inside the mold carry water or coolant. These channels remove heat from the mold to make the solidifying process as fast as possible.
For your information, cooling is one of the longest stages of the molding cycle. It is also a key to keeping the product quality high.
The thing is, the item inside must become strong enough before ejection.
8. Ejector System Ejects the Part Out
Once the part is cooled and solidified, the clamping unit opens the mold.
Now the ejector system pushes the part out.
For this purpose, the ejector system uses ejector pins.
The ejector system usually uses ejector pins. These pins push the molded part gently out and away from the mold cavity.
Once the part drops out, the mold closes again, and the next cycle starts.
This entire cycle repeats continuously during production.
Hydraulic, Electric, and Servo Systems: What Is the Difference?
Injection molding machines need power to perform different movements.
For example, rotate the screws, inject molten plastic into the mold, open and close the mold, apply clamping force, eject finished product, and so on.
Different machines use different systems to generate this power.
Based on the way IMMs generate power, they are divided into three types:
Hydraulic Machines
Hydraulic machines use hydraulic oil and pumps to transfer force and generate pressure.
Inside the machine, hydraulic pumps push oil through valves and pipes.
They are powerful and used for heavy applications where very high pressure is needed.
But they use more electricity.
Electric Machines
Electric injection molding machines work differently. Instead of hydraulic oil pressure, these machines use electric servo motors to perform all movements.
Each major movement inside the machine has its own dedicated motor. They are cleaner, faster, and more energy efficient. They also offer better precision.
Hybrid Machines
Hybrid machines combine the good features of both: hydraulic systems from the hydraulic machine with servo motor technology from electric machines.
Unlike the traditional hydraulic machines with a hydraulic pump running continuously, a servo motor controls the pump intelligently. The motor only runs when power is needed. These machines balance power and energy savings.
What Are Important Parameters for Injection Molding?

Injection molding does involve melting plastic, but it is a lot more than that. Many parameters are carefully controlled to manufacture quality products.
Some of the settings that are closely monitored are:
- Barrel temperature
- Injection pressure
- Screw speed
- Cooling time
- Mold temperature
- Holding pressure
- Cycle time
Even small setting changes can affect product quality.
What Are Some Common Injection Molding Defects?
Suppose the aforementioned parameters aren’t controlled properly. If so, defects in the product being manufactured start appearing.
Some of the common injection molding defects are:
- Flash
- Short shots
- Burn marks
- Sink marks
- Warpage
- Flow lines
- Air traps
- Bubbles
Most defects are connected to pressure, temperature, cooling, or mold design issues.